GRC Setup
To be able to utilize the capabilities of ROI iAM where SAP GRC is used for provisioning and risk analysis to non-SAP systems, there are a number of configuration steps which need to be conducted.
Connections
Each system which is enabled on ROI iAM needs to be created as a connection in SAP GRC - Access Control.
TIP
Open SAP Log On.
- Enter transaction
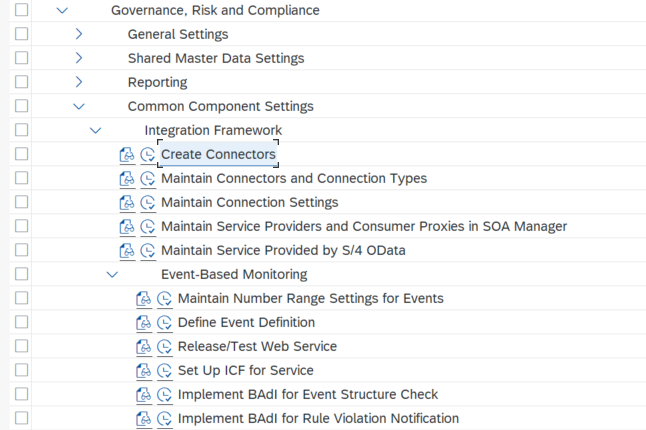
SPRO. - Expand Integration Framework.
- Select Create Connectors.
- Click Create New.

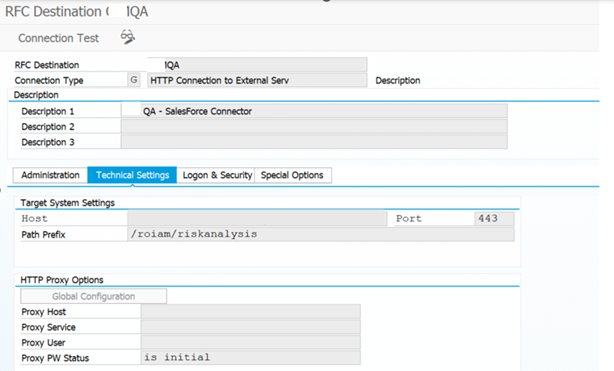
1. Technical Settings
- RFC Destination: TargetApp
- Connection Type: HTTP Connection to External Server
- Description: SalesForce Connector
TIP
Host: Details will be provided separately.
- Port: 443
- Path Prefix: /roiam/riskanalysis
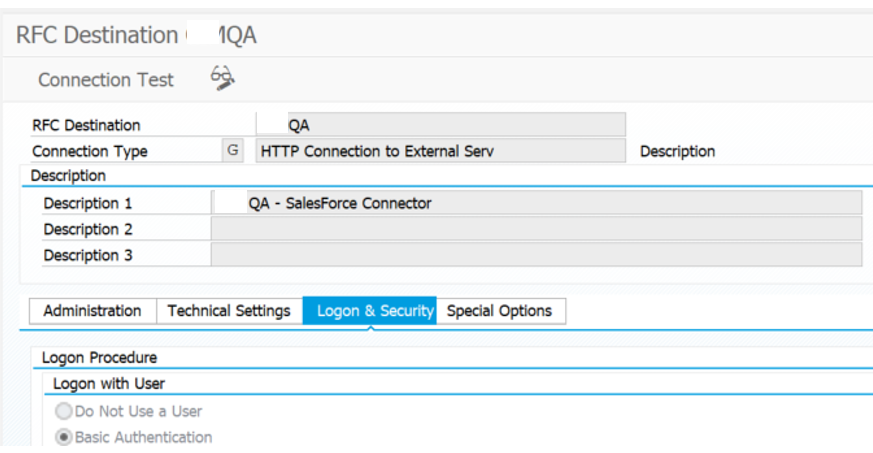
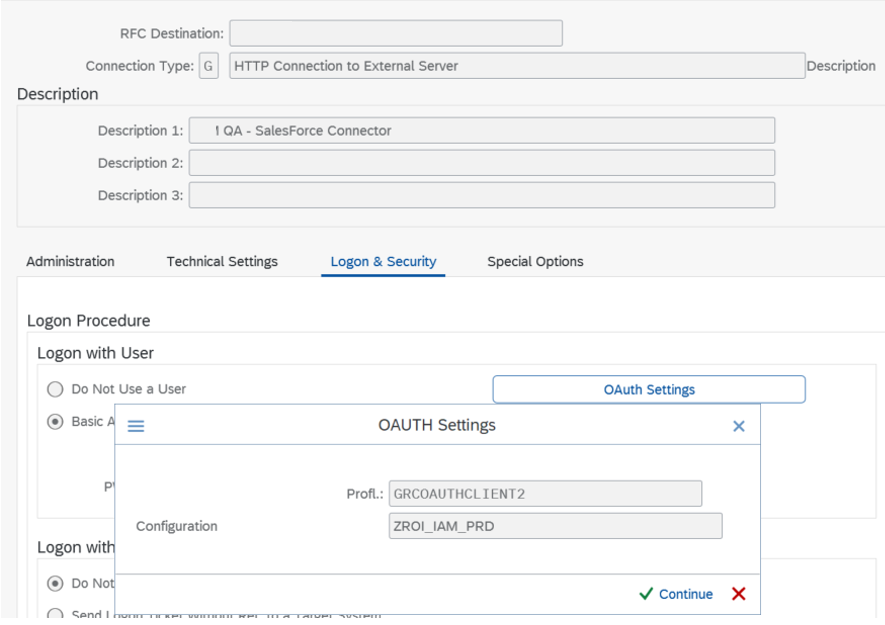
2. Logon & Security
This section is configured differently based on whether OAuth2 authentication is required or basic authentication. Below is an illustration of both options.
A. Basic Authentication
The standard way to integrate SAP GRC web services and oData services.
TIP
User and Password: These will be provided separately.
B. OAuth Authentication
If OAuth is being used as a form of authentication, update accordingly with the correct profile you have set up on your landscape. This authentication enables secure API service to service authentication with token based access.
TIP
If using OAuth, update accordingly with the correct profile you have set up.
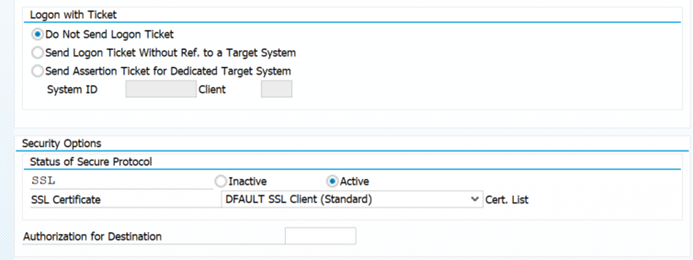
- SSL Certificate: Default – Active
The Standard certificate needs to be selected here and the "status" should be set as "active".
Logical Ports Configuration
For each connection of ROI iAM to a GRC system a logical port has to be configured, which is used across the rest of the configuration and establishes the link between the connector in GRC and ROI iAM. The setup is different depending on whether Basic authentication is configured or OAuth2 authentication. The following configuration steps demonstrate both types of setup.
Basic Authentication
INFO
Open SAP Log On.
- Enter transaction
SOAMANAGER. - SOA Management opens.
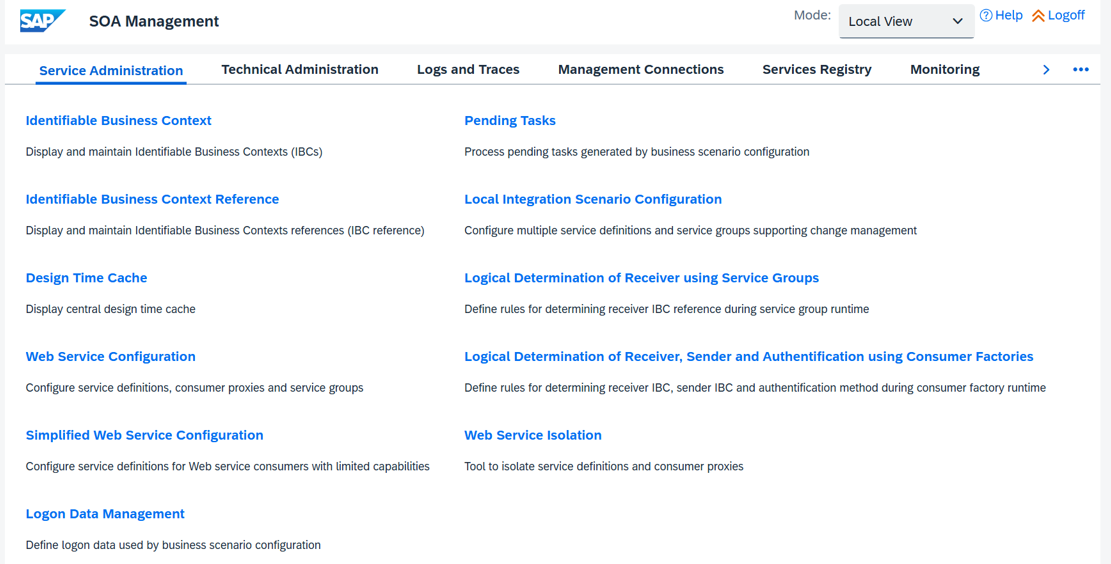
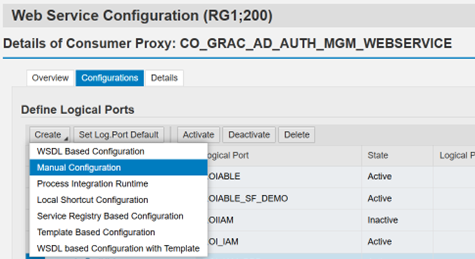
- Select Web Service Configuration.
- Filter on Object Name - GRAC*.
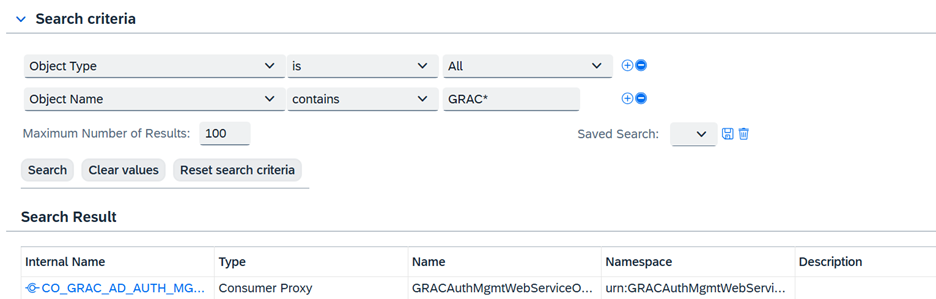
- Open the top item.
- Click Create.

- Select Manual Configuration.
Web Service Configuration Steps
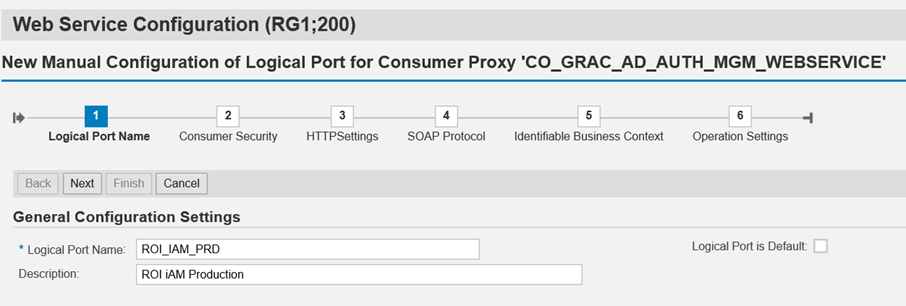
1. Logical Port Name
- Logical Port Name: Enter a logical port name (e.g.,
ROI_IAM_PRD). - Description: Provide a description (e.g.,
ROI iAM Production).
2. Consumer Security
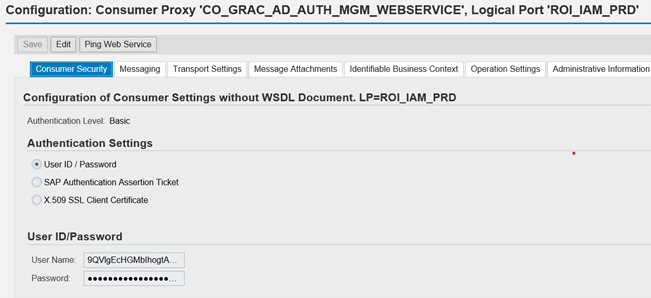
TIP
User and Password: These will be provided separately.
3. HTTP Settings
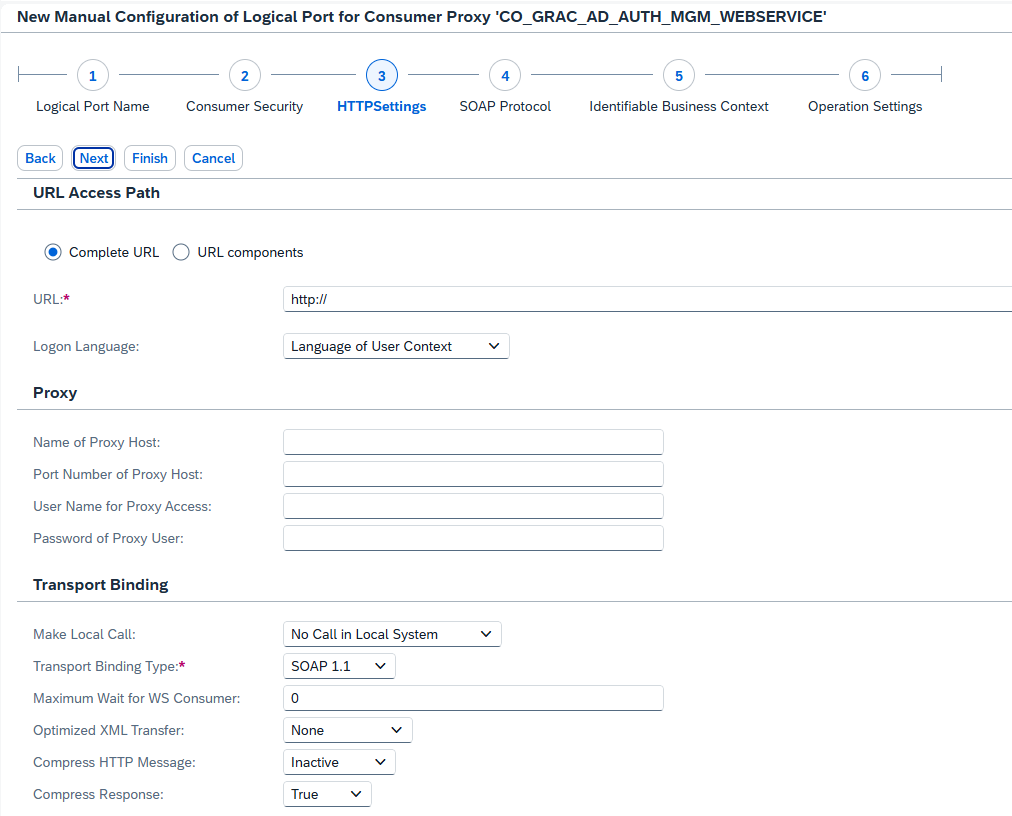
TIP
URL: This will be provided separately.
4. SOAP Protocol
No changes are required, use the default selections.
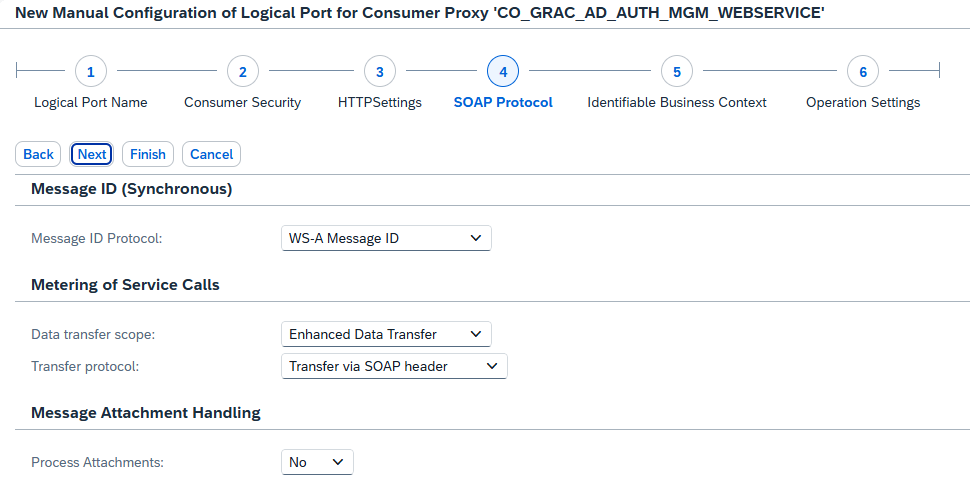
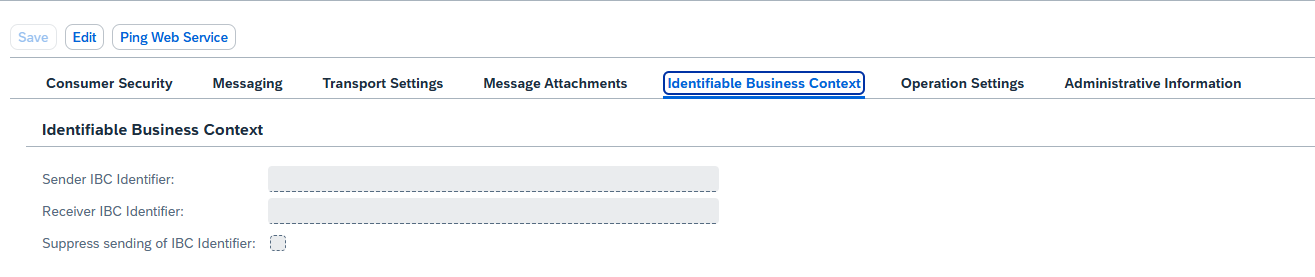
5. Identifiable Business Context
Leave blank.
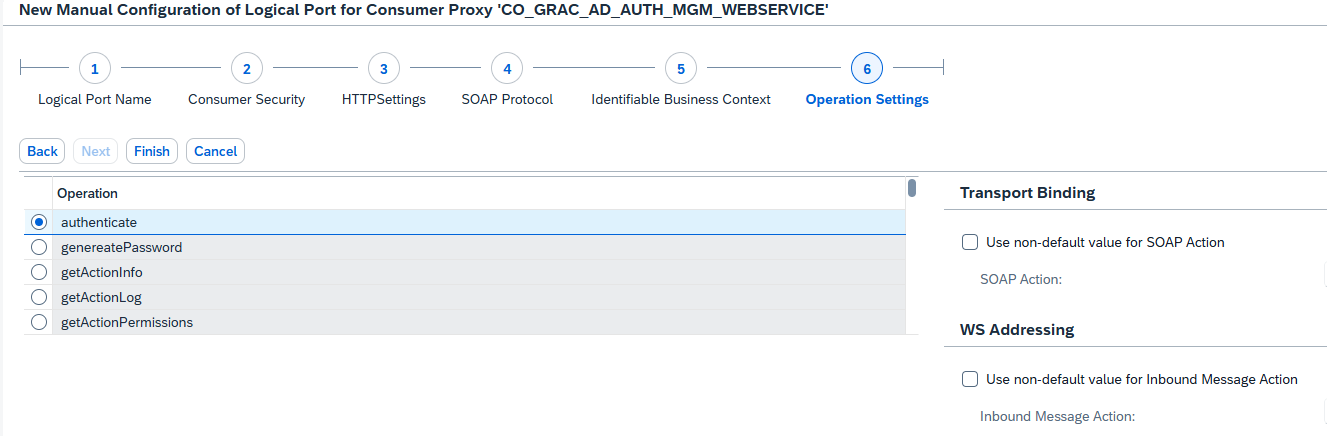
6. Operation Settings
No changes are required.
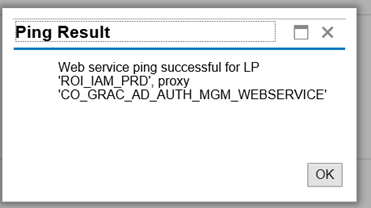
7. Ping Web Service
Click the Ping icon to test the connection.

A pop-up appears confirming that the connection is successful.
OAuth2 Authentication
1. Setup OAuth Client
Enter transaction OA2C_CONFIG.
- The OAuth2 Clients screen opens.
- Click Create.
- Select as Client Profile:
GRCOAUTHCLIENT2. - Enter a Configuration Name:
ZROI_IAM_PRD. - Enter Client ID.
TIP
Client ID: This will be provided separately.
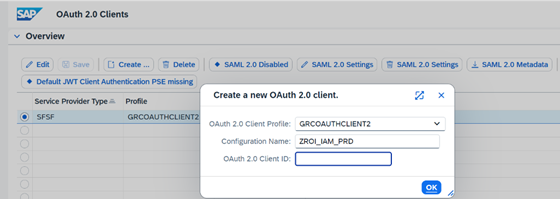
Click OK.
IDs and Secret are available in the CUSTOMIZING.
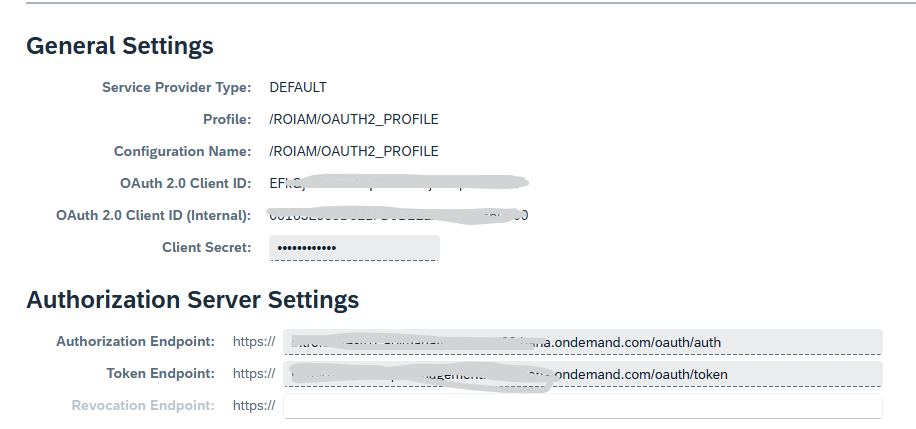
- Authorization Endpoint: ROI iAM URL - to the application router & "/oauth/auth"
- Token Endpoint: ROI iAM URL - to the application router & "/roiam/oauth/token"
- Enter Client ID, Client Internal, and Client Secret.
TIP
Client credentials are environment specific.
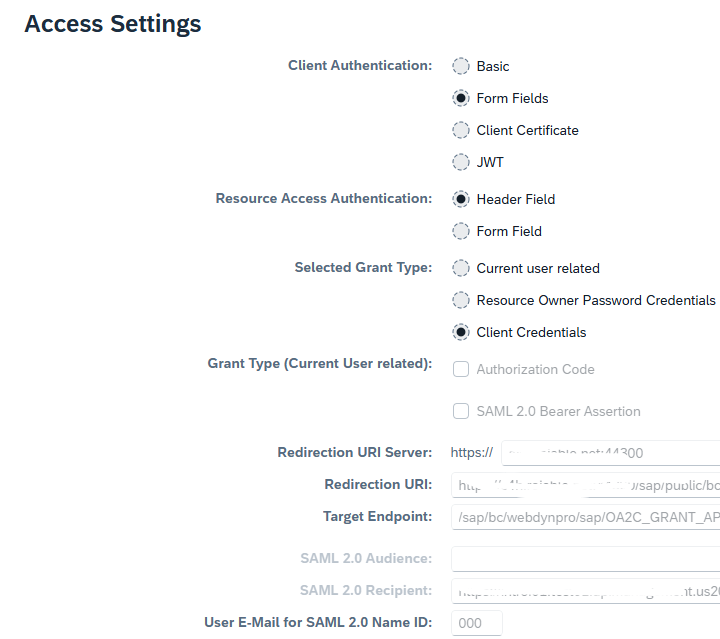
- Redirection URI Server: Relevant S/4 and GRC URL
- SAML 2.0 Recipient: URL with "/roiam/oauth/token"
- Scopes
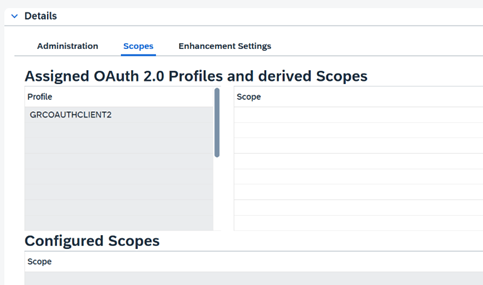
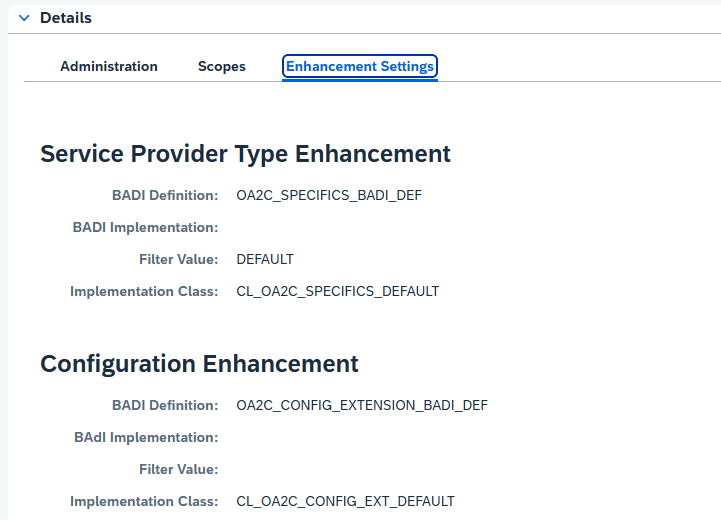
- Enhancement Settings
2. Setup SOA Manager
- SOA Management opens.
- Select Web Service Configuration.
- Filter on Object Name - GRAC*.
- Open the top item.
- Click Create.
- Select Manual Configuration.
A. Logical Port Name
- Logical Port Name:
ROI_IAM_PRD(use your logical port). - Description:
ROI iAM Production(enter description based on your preference).
B. Consumer Security
- Select OAuth 2.0.
- Enter the OAuth Profile and OAuth Configuration created in the previous step (Setup OAuth Client).
C. Messaging
Use default settings.
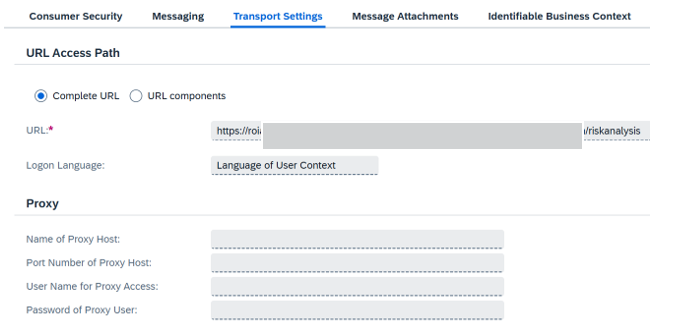
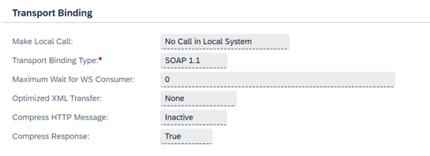
D. Transport Settings
Enter the URL.
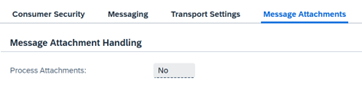
E. Message Attachments
F. Identifiable Business Context
G. Operation Settings
H. Ping Web Service
3. OAuth Authorizations
To ensure that the system works effectively with OAuth2, assign the following roles based on the segregation of duties.
Three standard roles must be added to relevant users based on their activities, and one custom role must be created.
Standard Roles
- SAP_BC_WEBSERVICE_CONFIGURATOR – Enables setup, configuration, and successful ping in SOA Manager.
- SAP_GRAC_SETUP – Enables GRC setup and ability to run sync jobs.
- SAP_IWXBE_RT_XBE_ADM – Enables the setup of OAuth clients.
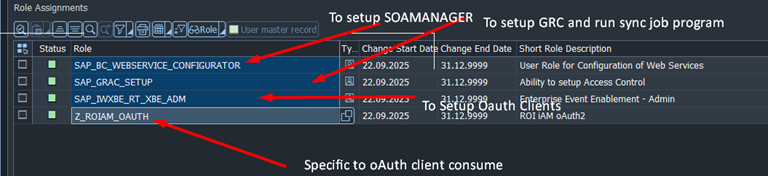
Custom Roles
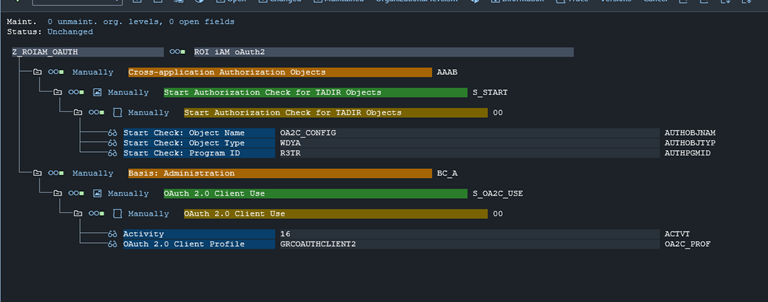
- ZROIAM_OAUTH – This role enables OAuth on a call and must contain the following authorization objects:
S_STARTS_OA2C_USE
WARNING
The OAuth 2.0 Client Profile should be the profile used in SOA Manager logical port.
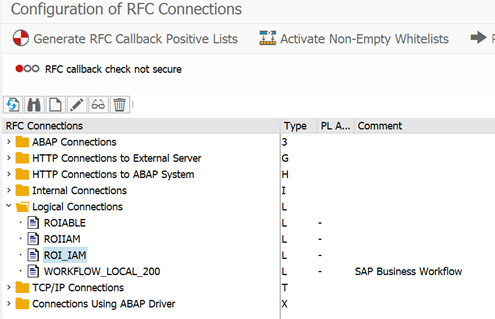
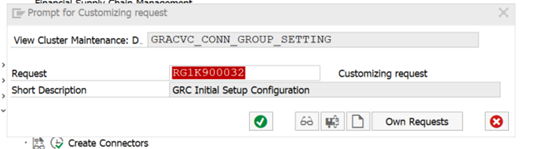
Create a Logical Connection
TIP
Open SAP Log On.
- Enter transaction
SPRO. - Expand Integration Framework.
- Select Create Connectors.

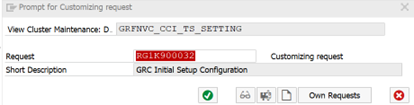
- Click New Entries.
- Click Save.
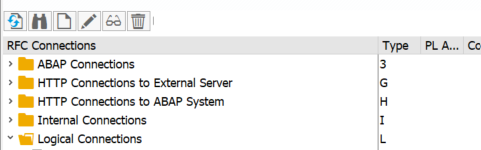
Maintain Connections
All relevant connectors need to be configured with the correct connection type as well as connection group.
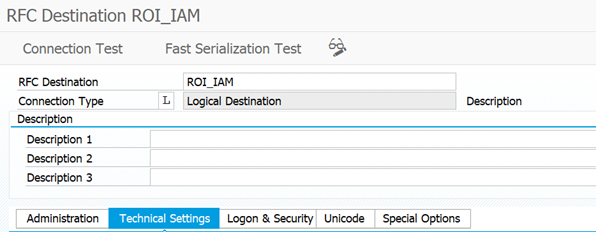
Maintain Connectors and Connection Types
WARNING
The logical port should match the logical port in SOA Manager configuration.
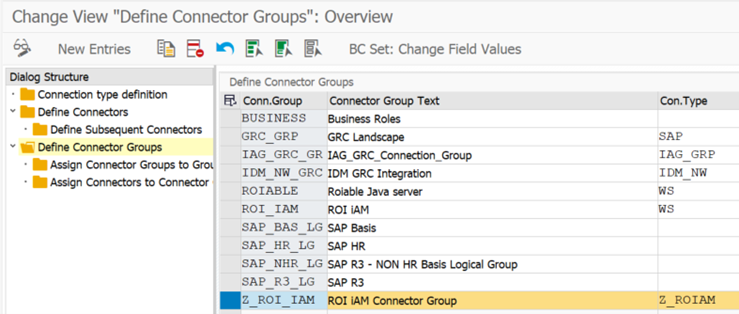
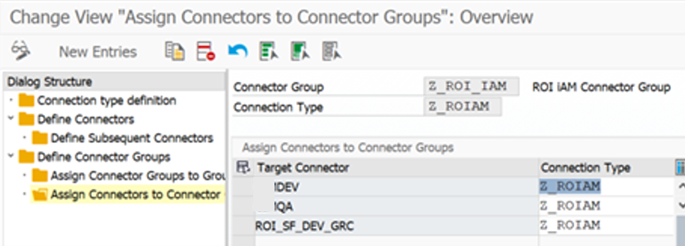
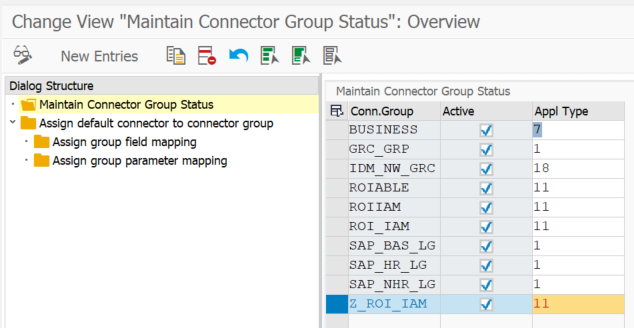
Define Connector Groups
Create all relevant connector groups for each ROI iAM enabled system and assign Z_ROIAM as the connection type. Connector groups must also be maintained in the ROIAM_CUSTOMIZING transaction. Follow that section for more information on setup.
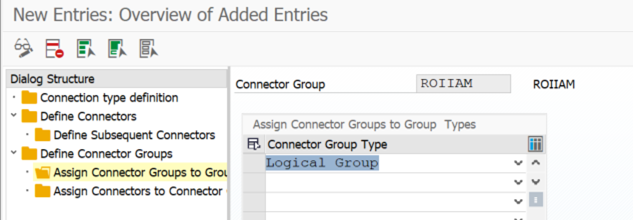
- Assign Connector Groups to Group.
- Click New – Entry – Logical Group.
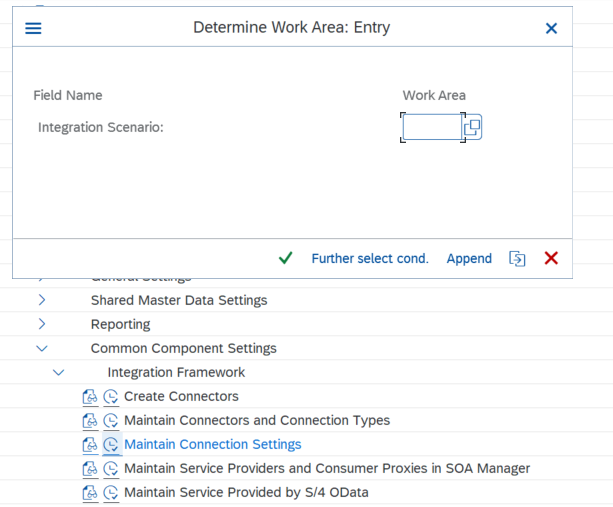
Maintain Connection Settings
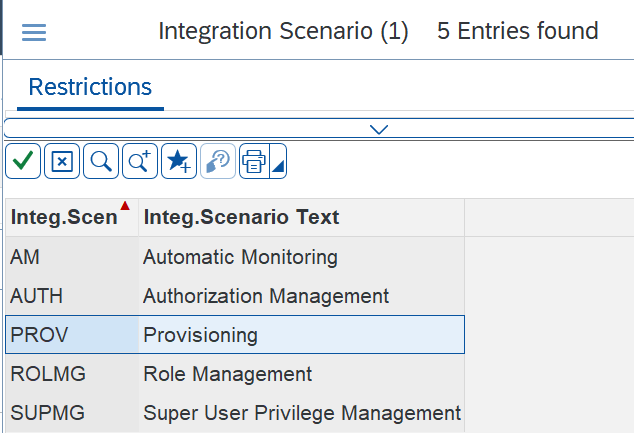
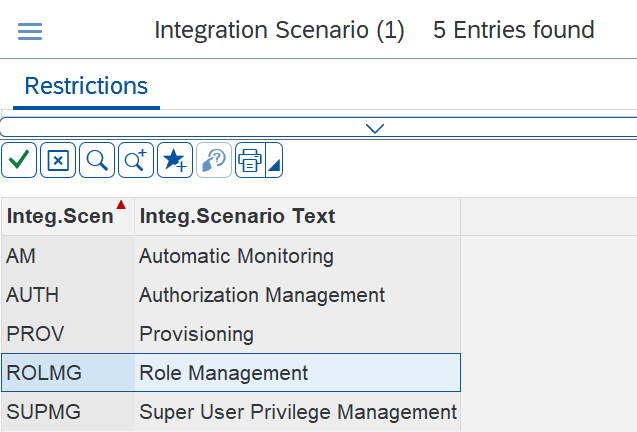
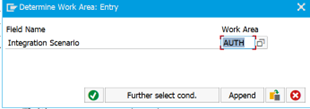
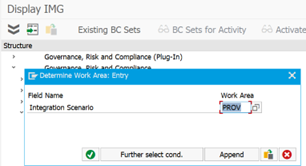
Work Area Configuration: Each work area has to be configured as part of each integration scenario. The integration with ROI iAM uses standard SAP GRC Classes for AUTH and ROLMG and a custom class for PROV provisioning. The following steps demonstrate the configuration of these three work areas.
AUTH
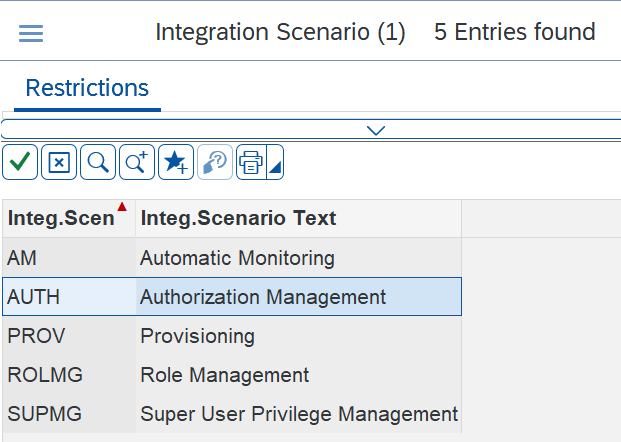
PROV
ROLMG
1. AUTH Connection Settings
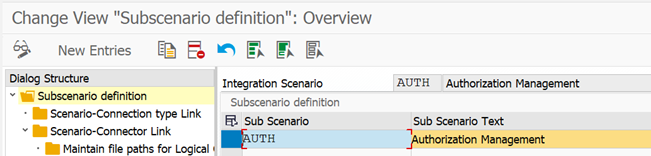

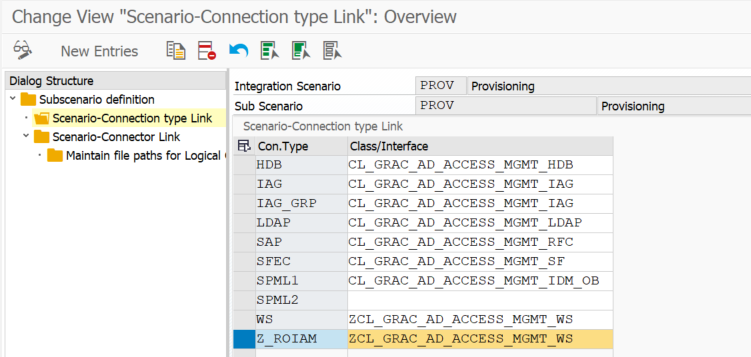
Highlight WS and click Scenario-Connector Link.
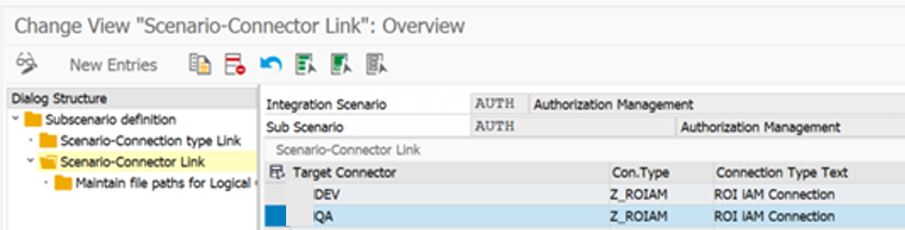
- Click Save.
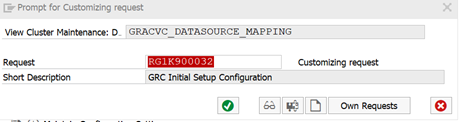
- Add to Transport Request.
2. PROV Connection Settings
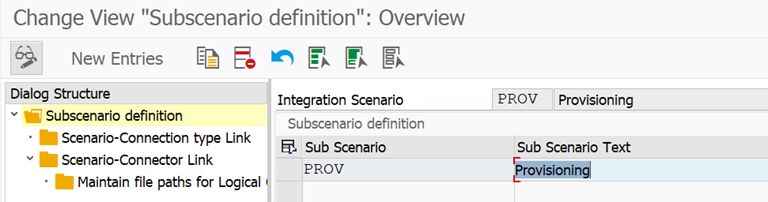
- Select the relevant target connector.
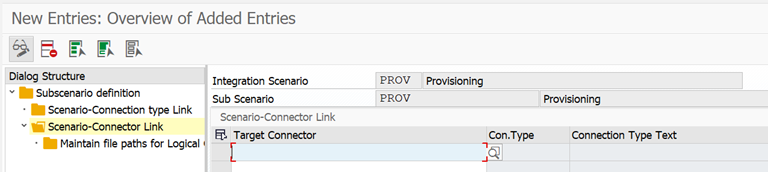
- Press Enter.
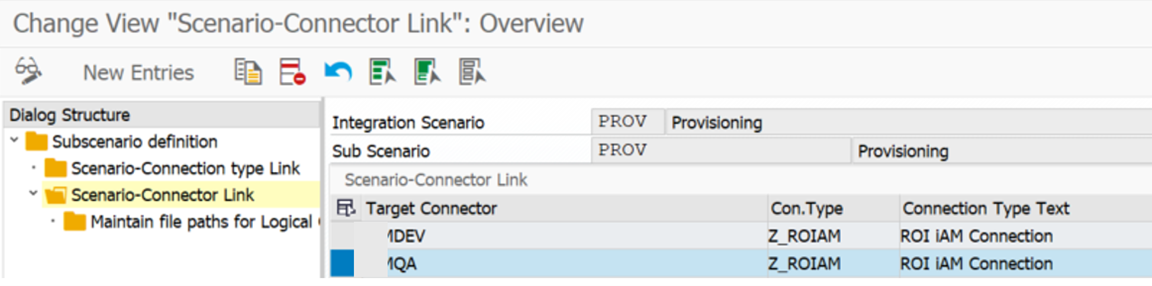
- Click Save.
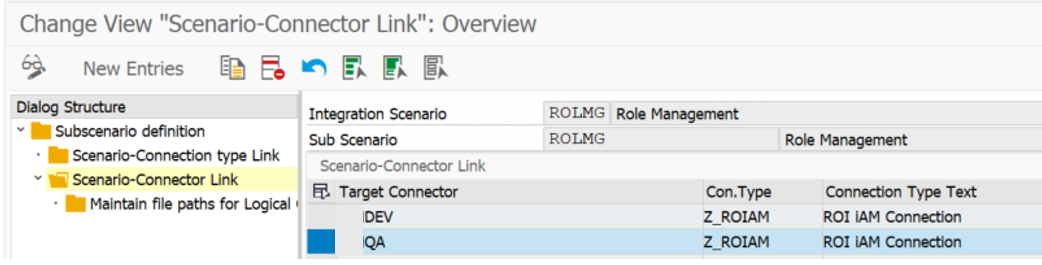
3. ROLMG Connection Settings
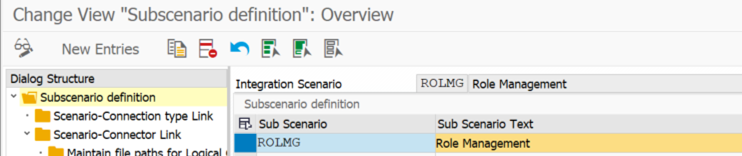

- Select the relevant target connector.
- Press Enter and click Save.
Maintain Connector Settings
Under this section all connectors which are enabled in ROI iAM, need to be assigned with the correct application type. ROI iAM falls under the "Others" category, application type 11.
- Click New Entries.
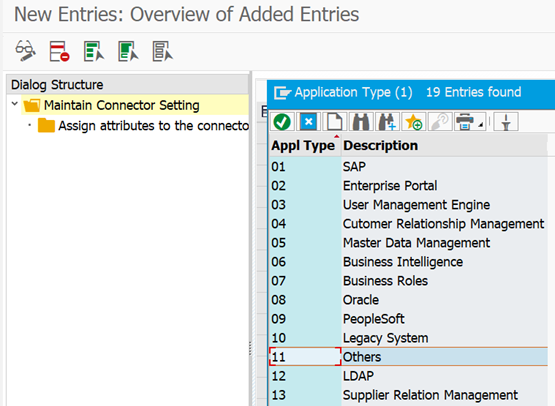

- Click Save.
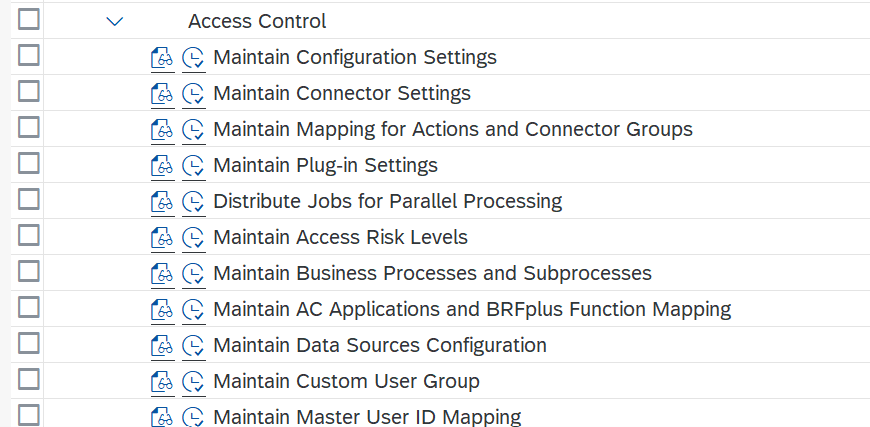
Maintain Mapping for Actions and Connector Groups
This section enables all connectors with the corresponding action types. Connector group is custom with application type 11.
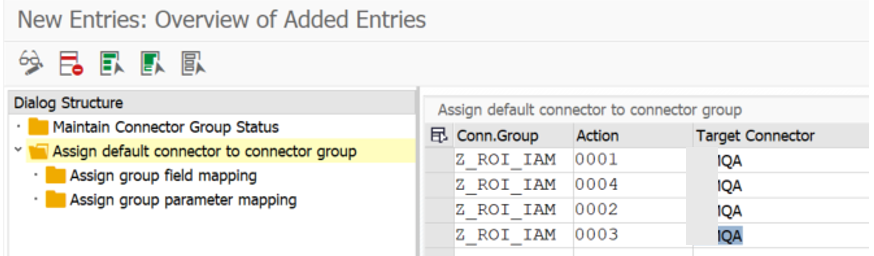
Click New Entries.
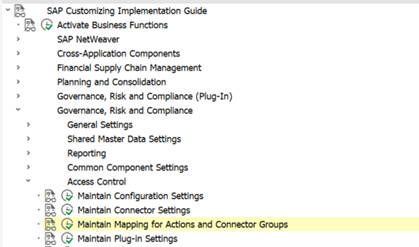
Create the relevant Connector Group with the required naming convention.
Assign Default Connector to Connector Group
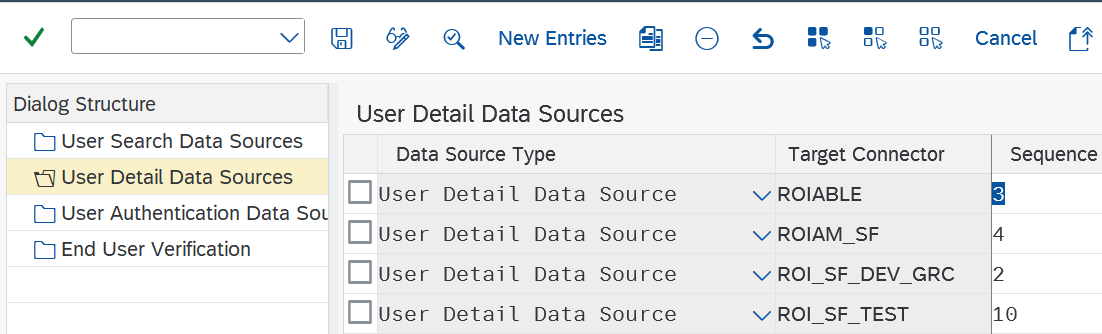
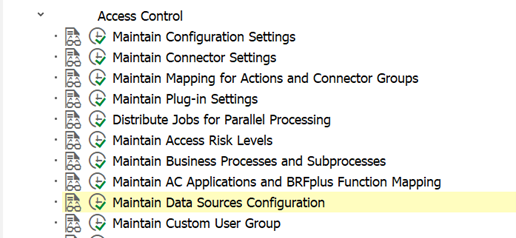
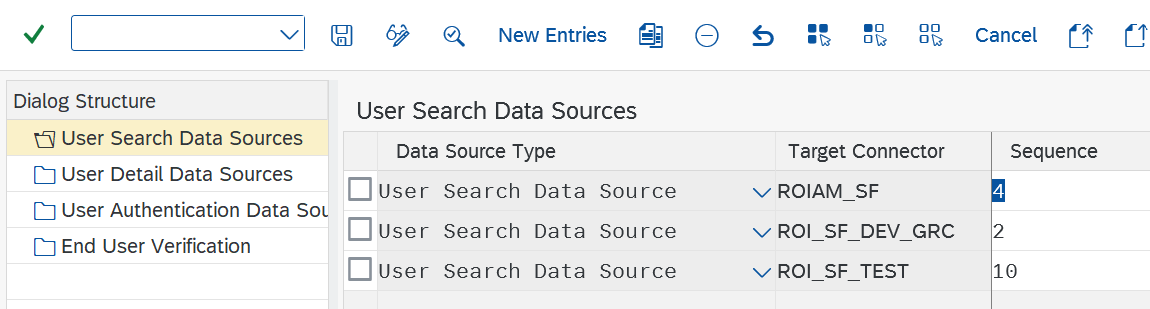
Maintain Data Sources Configuration
Enable ROI iAM connected systems for data sources with the corresponding sequence.
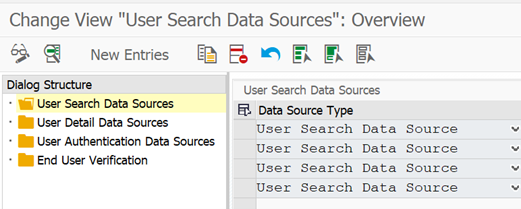
Click New Entries.
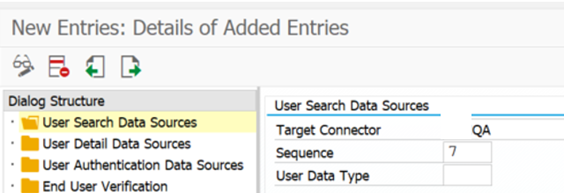
Click Save.
Click New Entries.
Click Save.