Azure Configuration
This is a one-time setup activity that requires minimal changes once configured. This section covers the setup of core Azure resources needed for the MS Entra Provisioning Accelerator.
Azure Subscription
- Sign in to the Azure portal and create a subscription.
- Navigate to Subscriptions → Select your subscription → Access Control (IAM).
- Add the following roles to the setup user:
- Contributor
- User Access Administrator
Important
Note the Azure Subscription ID as it will be needed for the Entra connection setup
Azure Resource Groups
Create the following resource groups in an appropriate region:
| Resource Group | Purpose |
|---|---|
ROI_LogicApps_RG | Contains all Logic Apps and their Azure Table and KeyVault connections |
ROI_KeyVault_RG | Contains Azure Key Vault for securely storing secrets required by Logic Apps |
ROI_Functions_RG | Contains Azure Function(s) App used within ROI_AppRoles Logic App |
ROI_AzureTables_RG | Contains Azure Table Storage resources required by Logic Apps |
Storage Account
Create Storage Account
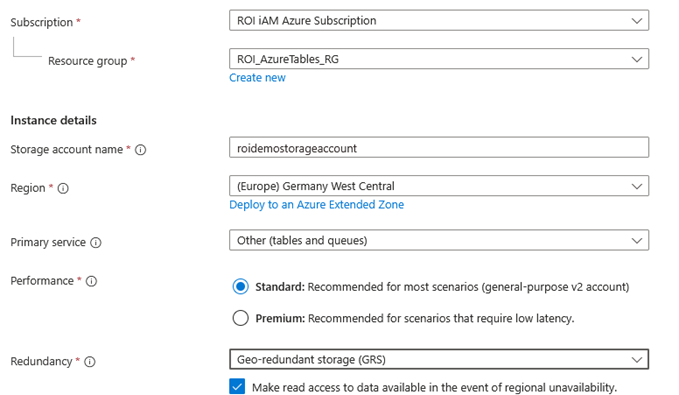
- Sign in to the Azure portal and create a Storage Account under Resource group
ROI_AzureTables_RG. - Configure the basics:
- Subscription: Select your Azure subscription.
- Resource Group:
ROI_AzureTables_RG. - Storage Account Name: Enter a globally unique name (lowercase, 3-24 characters).
- Region: Select the Azure region closest to your location.
- Primary service: Other (tables and queues).
- Performance: Standard (recommended) or Premium.
- Redundancy: Geo-redundant storage or Locally-redundant storage.
Remember
Note the Storage Account Name for later use.
- Leave Advanced Settings at their default values.
Import ROI iAM Storage Account Template
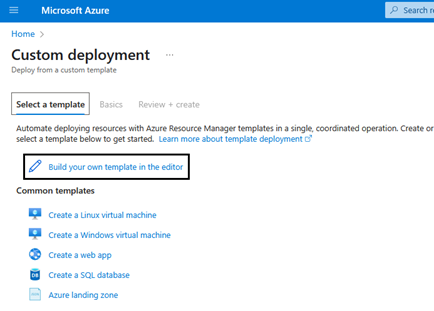
- Open Azure Template Deployment (portal link).
- Click "Build your own template in the editor".
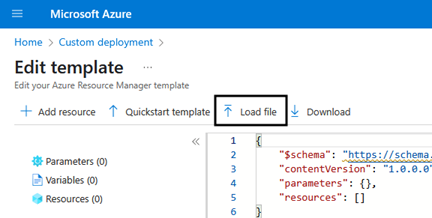
- Load the template file provided by ROIABLE.
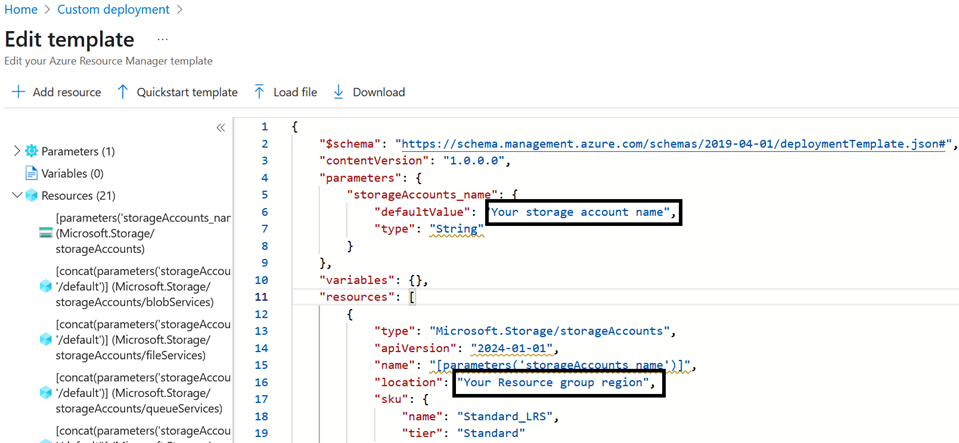
- Edit the template:
- Set the
locationvalue to the region of yourROI_AzureTables_RG. - Set the
name/defaultValueto the name of your storage account.
- Set the
- Select Resource Group:
ROI_AzureTables_RG. - Select Region (closest to you).
- Click Save → Review + Create → Create.
Important
The location must match the region selected for your resource group.
Import Azure Tables
We recommend using Azure Storage Explorer for managing Azure Tables.
- Open Microsoft Azure Storage Explorer and log in with the setup user.
- Navigate to Storage Accounts → Your storage account → Tables.
You should see the following tables:
ROIAMAppSyncROIAMEventLogROIAMHubROIAMIdentityROIAMPermissionsROIAMSchemasROIAMLifecycle
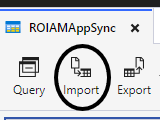
- For each table:
- Open the table → Click Import → Select the corresponding CSV file provided with the configuration package.
Azure Key Vault
Create Key Vault
- Create a Key Vault with a globally unique name.
- Recommended naming convention:
ROI<CustomerName>HubAV.
- Recommended naming convention:
- Select Resource group:
ROI_KeyVault_RG.
Assign Permissions
Assign the Key Vault Administrator role to the setup user:
- Navigate to Key Vault → Access Control (IAM) → Add role assignment.
Create Secrets
- Open the vault → Secrets → Generate/Import.
- Create secrets for ROI iAM tenants.
Usually, ROI iAM is deployed using two tenants on the customer SAP BTP landscape (QA and PROD). Example naming:
ROIAMPRODAPIKEY/ROIAMPRODSECRETROIAMQAAPIKEY/ROIAMQASECRET
Azure Functions
Create Function App
Create an Azure Function under Resource group:
ROI_Functions_RG.Configure the function:
- Name:
ROI_<CustomerName>_FUNCTIONS - Operating System: Windows
- Runtime stack: .NET
- Version: .NET 8 (LTS) Isolated Worker model
- Region: Closest to you
- Name:
After creation:
- Go to Settings → Identity → Set Status to On → Save.
Remember
Note the Object ID of the Function for permission assignment later.
Configure Environment Variables
- In the Azure portal, go to your Function App.
- Navigate to Settings → Environment variables.
- Add the following app setting:
- Name:
ROI_IAM_STORAGE_ACCOUNT_NAME - Value: Your storage account name created earlier
- Name:
- Click Apply → Confirm changes.
Deploy Function in Visual Studio
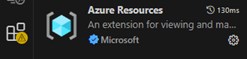
- Open Visual Studio → Extensions → Add Azure Resources.
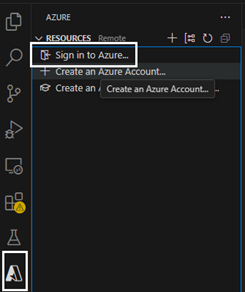
- Log in with your setup user.
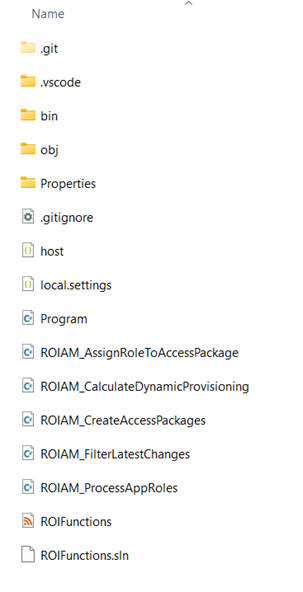
- From File → Open File, select the
ROIAM_files provided with the configuration guide.
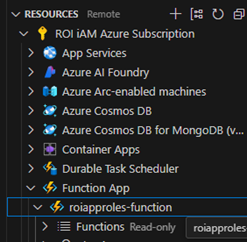
- Within Visual Studio, locate your newly created app under the subscription.
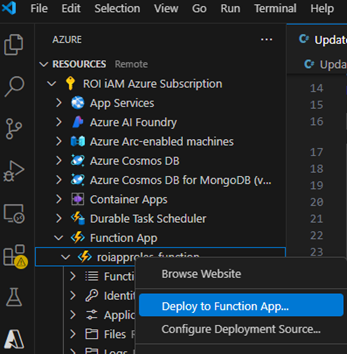
- Right-click on it → Deploy to Function App.
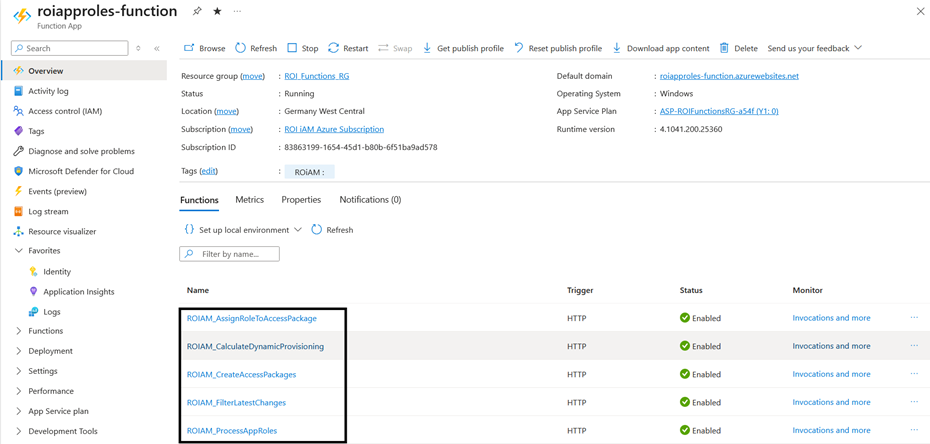
Verify Deployment
- Open
ROI_<CustomerName>_FUNCTIONSin the Azure portal. - Go to the Overview section.
- Verify the deployed script appears in the Name column.
API Connections
API Connections are required for communication between Logic Apps, Azure Tables, and Azure Key Vault.
Using the PowerShell Script
The ROIAM_Create_ApiConnections PowerShell script automates this process.
Steps to Run the Script
Download the script to your local machine.
Open PowerShell 7 as Administrator.
Run the script:
powershell.\ROIAM_Create_ApiConnections.ps1Follow the interactive prompts:
- Azure Subscription ID
- Resource Group:
ROI_LogicApps_RG - Azure Region: Your region
- Key Vault Name: Your Key Vault name
- Storage Account Name: Your storage account name
- Azure Sign-in Credentials
Review the process confirmation and summary.
Prepare Logic Apps Templates
Before importing Logic Apps, modify the templates for your Azure setup.
Using the PowerShell Script
Use the ROIAM_PrepareLogicAppTemplates script to automate template preparation.
Steps to Run the Script
Download the script to your local machine.
Open PowerShell 7 as Administrator.
Run the script:
powershell.\ROIAM_PrepareLogicAppTemplatesFollow the interactive prompts:
- Azure Subscription ID
- Azure Region
- Storage Account Name
- Azure Function App Name: Replaces 'roiapproles' in templates
- Folder Path: Directory containing Logic App templates (default: current directory)
- Output Folder: Directory for migrated templates (default:
.\migrated_templates) - Process Another Batch?: Select "Y" to continue with additional templates
Repeat for each template batch, providing the path to the next files.
Next Steps
Now that the Azure resources are configured, continue to Logic Apps Setup to create and configure the Logic Apps that orchestrate the provisioning process.