

Process designer canvas
Overview
The designer gives users capabilities for building processes using visual tooling. A process is built by placing tasks on the canvas and configuring their available properties. Newly created processes contain a blank definition with Start and End tasks already placed on the diagram.
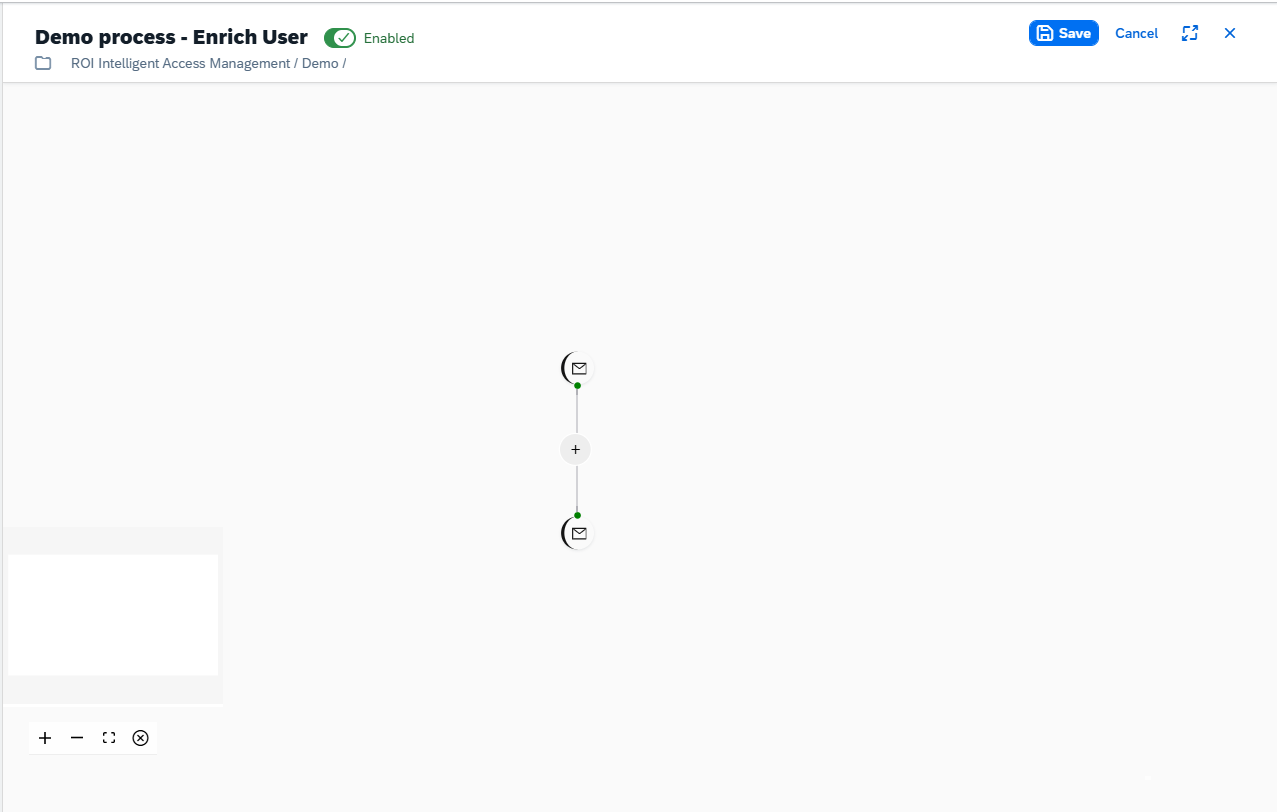
Enable / Disable process
Enabling or disabling a process controls whether it runs during runtime execution. Switch the Enable/Disable toggle located next to the process name to change its state.
Edit process
Selecting a process from the main directory tree opens the designer in read mode. To unlock the process for editing, click the Edit button in the header.
Add task
To add a new task to a process:
- Click the + button between the tasks where you want the new task inserted.
- A palette opens listing all supported tasks.
- Select the desired task to insert it into the diagram.
- Click Save.
INFO
New tasks are disabled by default and must be explicitly enabled in the configuration menu.
Delete task
To delete a task:
- Hover over the task you want to delete.
- Click the Delete button that appears next to the task on the canvas.
- Click Save.
INFO
Start and End tasks cannot be deleted.
Reposition task
To change the position of a task on the canvas:
- Drag the task to the desired position.
- Click Save.
Diagram mini map
The designer includes a mini map for visual navigation during process design.

Zoom in / out
The canvas can be zoomed in two ways:
- Clicking the mini map + / - buttons.
- Scrolling the mouse wheel up or down.
Fit view
To reset the diagram view, click the Fit view button in the mini map.
INFO
The scale to which the diagram resets varies according to the size of the process definition.
Show / hide annotations
To show or hide annotations in the process definition, click the Show / Hide annotations button in the mini map.